Getting Started Tutorial
Note
In this guide, example commands, images, and instructions use the project code TRA250013 and project name Byteboost 2025 Cybertraining.
Be sure to use your assigned project code and name as listed in the ACCESS Allocations Portal.
1. Test Your Access to the Neocortex System
Login to the Neocortex Open OnDemand Portal
Navigate to the Neocortex Open On Demand webpage.

Use your PSC username and password to log in.
If You Don't Know Your PSC Username
Option 1: Check Your Email
Search for a message from grants@psc.edu with details like:
Welcome to the PSC! Your account is now active. Your PSC username is
USERNAME.
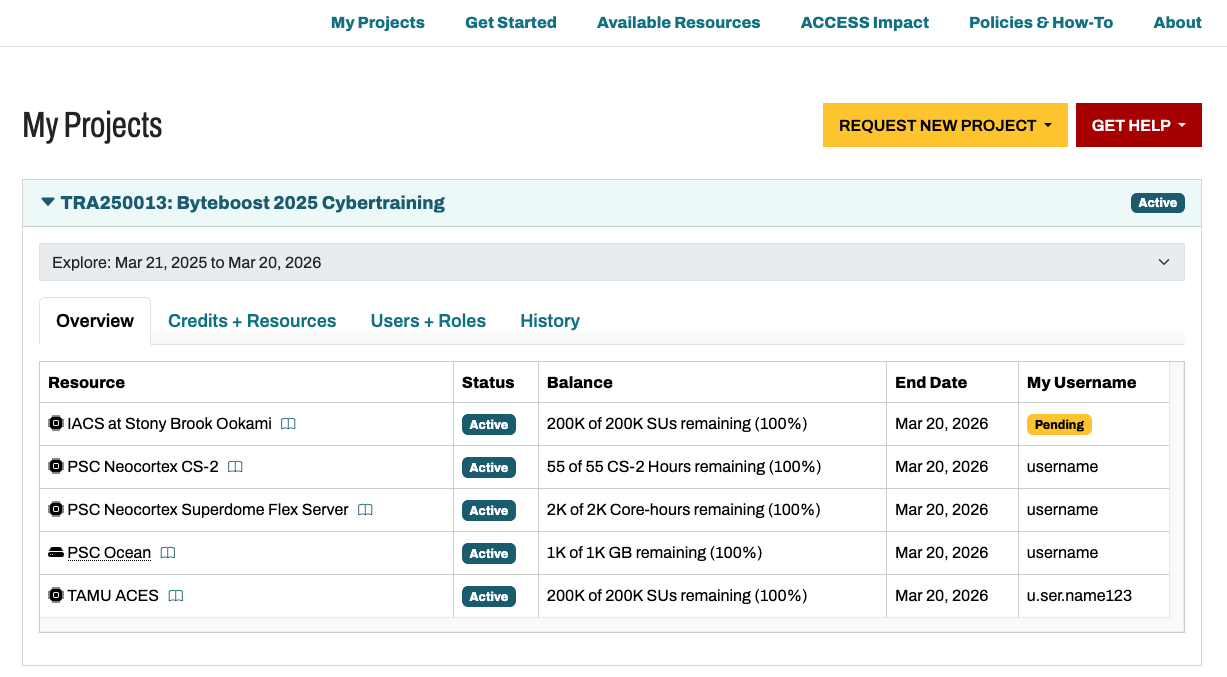
Option 2: Check the ACCESS Allocations Portal
- Go to the ACCESS Allocations portal.
- Expand your project (e.g.,
TRA250013: Byteboost 2025 Cybertraining). - Look for your PSC username in the "My Username" column.
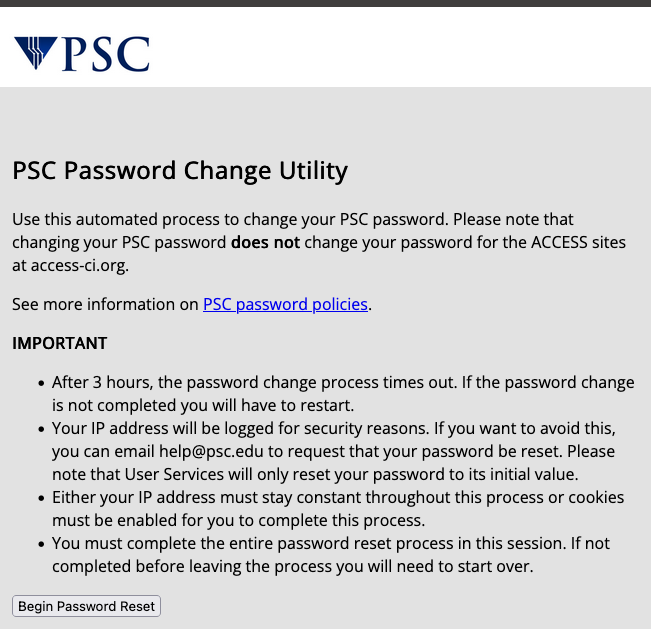
If You Don't Know Your PSC Password
Reset your password at the PSC Password Change Utility.
2. About the Tutorial
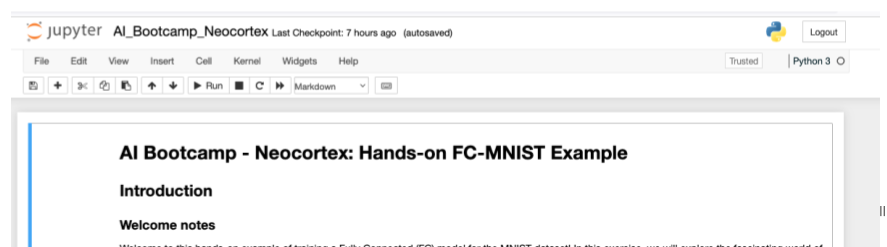
The Neocortex team provides a "Hands-on FC-MNIST" tutorial notebook to help you get started using the system.
Ensure you have successfully logged in and tested your PSC account before proceeding.
Model Used: Fully Connected (FC) Neural Network
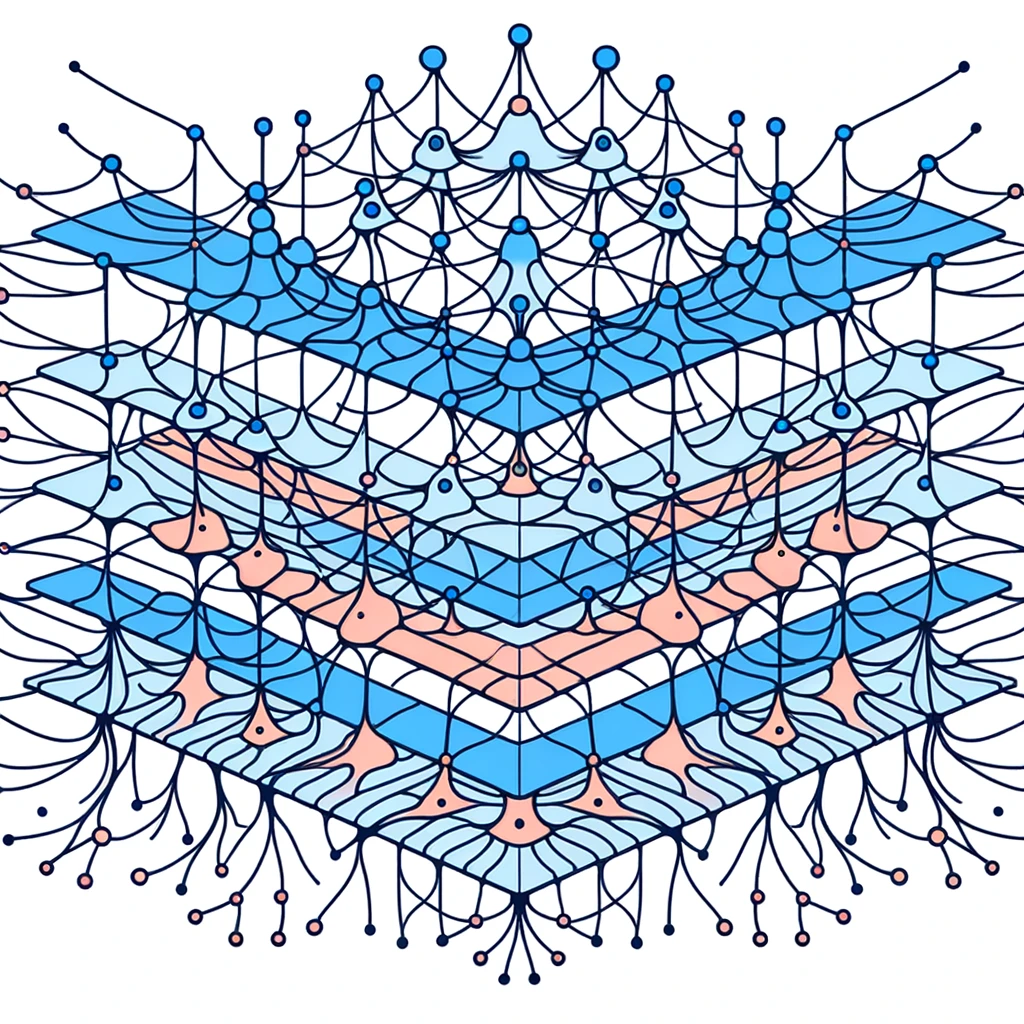
A fully connected neural network connects every neuron from one layer to the next, ideal for learning complex patterns.
Dataset Used: MNIST Handwritten Digits
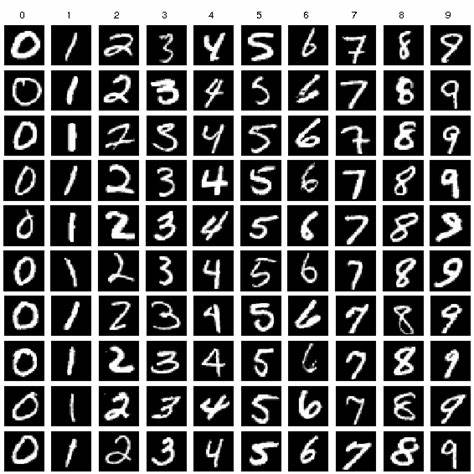
The MNIST dataset contains 70,000 images of handwritten digits (0-9) used for image recognition tasks.
Training Parameters
| Parameter | Value |
|---|---|
| batch_size | 256 |
| max_steps | 100,000 |
| save_checkpoints_steps | 10,000 |
| keep_checkpoint_max | 2 |
Note: Neocortex System Access After Webinar
You will retain access to the Neocortex system and tutorial materials after any webinar session concludes.
3. Key URLs
| Resource | Link |
|---|---|
| PSC Password Change Utility | https://apr.psc.edu/ |
| ACCESS Allocations Portal | https://allocations.access-ci.org/ |
| Neocortex Open OnDemand Portal | https://ondemand.neocortex.psc.edu/ |
| Getting Started Jupyter Notebook File | https://github.com/pscedu/neocortex-public/blob/main/tutorial/getting_started.ipynb |
4. Step-by-Step Instructions
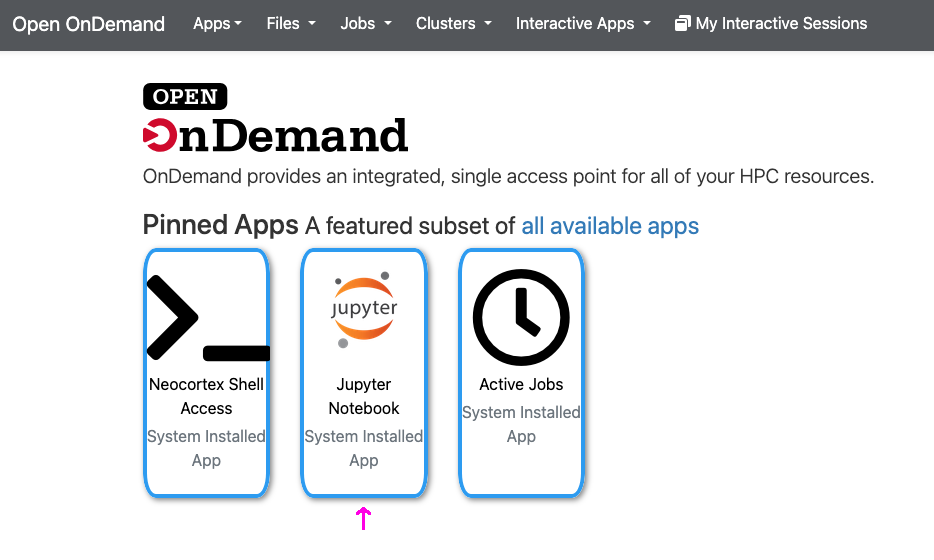
Step 1 - Launch Jupyter Notebook via Open OnDemand Portal
- Navigate to the Neocortex Open On Demand webpage.
- Login with your PSC credentials.
- Select "Jupyter Notebook".
Set the Job Parameters:
| Field | Value |
|---|---|
| Number of Hours | 1 |
| Number of Nodes | 1 |
| Extra Slurm Arguments | --account=tra250009p |
| Extra Jupyter Args | (leave empty) |
Note
Replace tra250009p with your specific project allocation code from ACCESS or NAIRR.
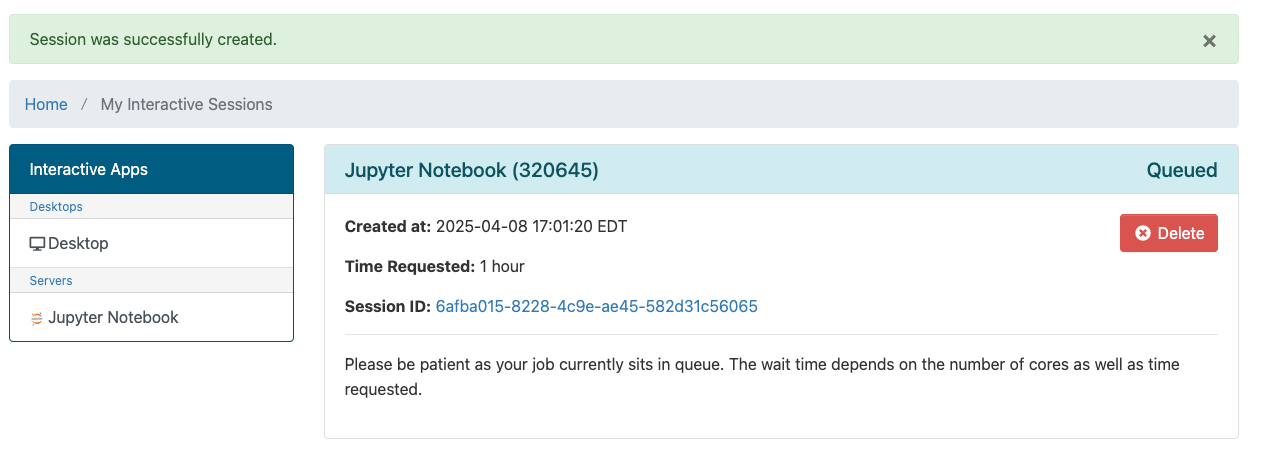
Click the blue Launch button.

The job will queue for a short time:
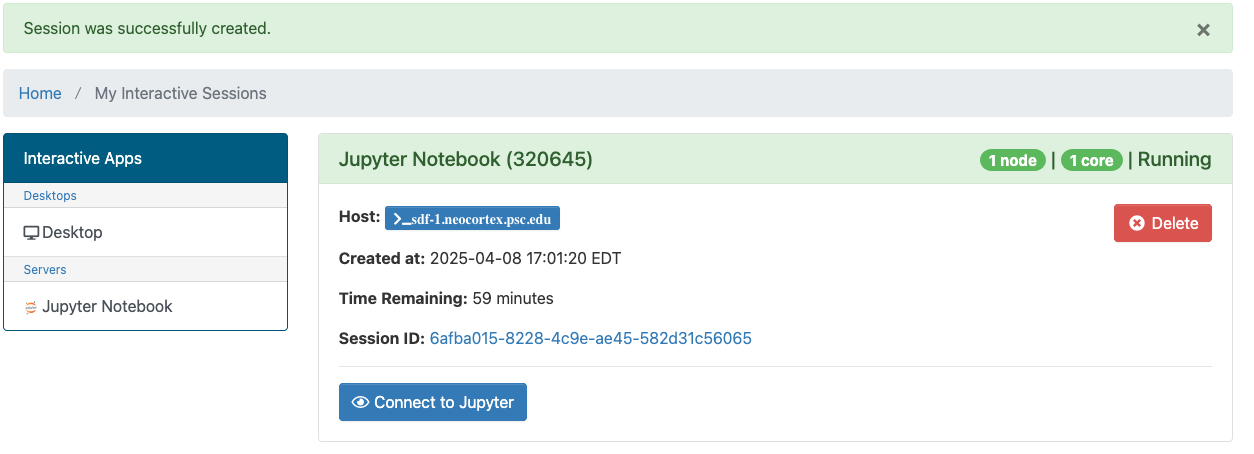
Once ready, click Connect to Jupyter:
Step 2 - Download the Jupyter Notebook File
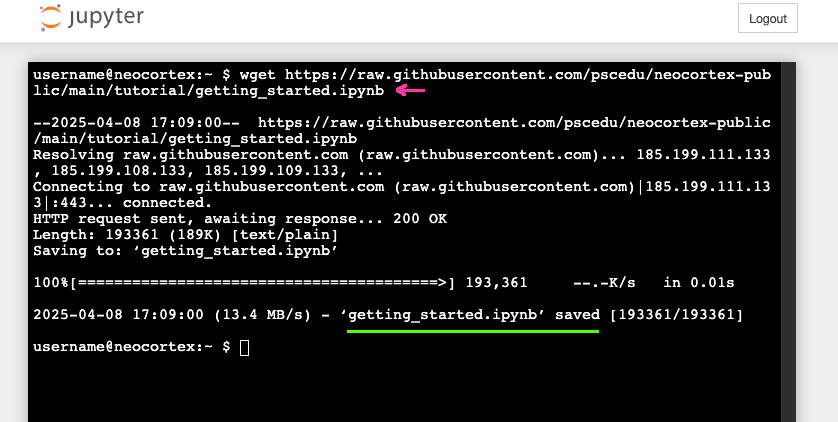
Once inside the Jupyter interface, open a terminal to download the tutorial notebook: getting_started.ipynb
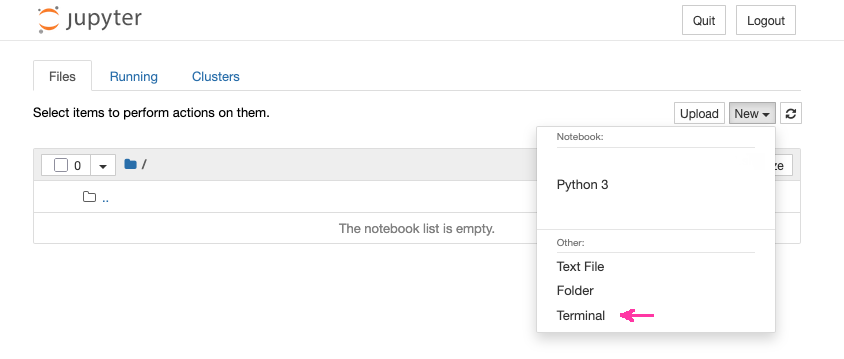
From a Terminal (Neocortex Shell or Jupyter Terminal):
# Inside the Neocortex system terminal
wget https://raw.githubusercontent.com/pscedu/neocortex-public/main/tutorial/getting_started.ipynb
Step 3 - Open the Notebook and Begin the Tutorial
- In the Jupyter file browser, locate
getting_started.ipynb. - Double-click the file to open.
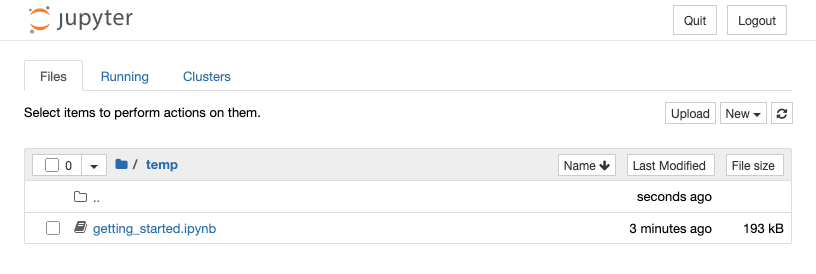
The notebook contains step-by-step instructions and example output.
Reminder
Ensure you use your project code and allocation name where applicable, as shown in the ACCESS Allocations or NAIRR portals.